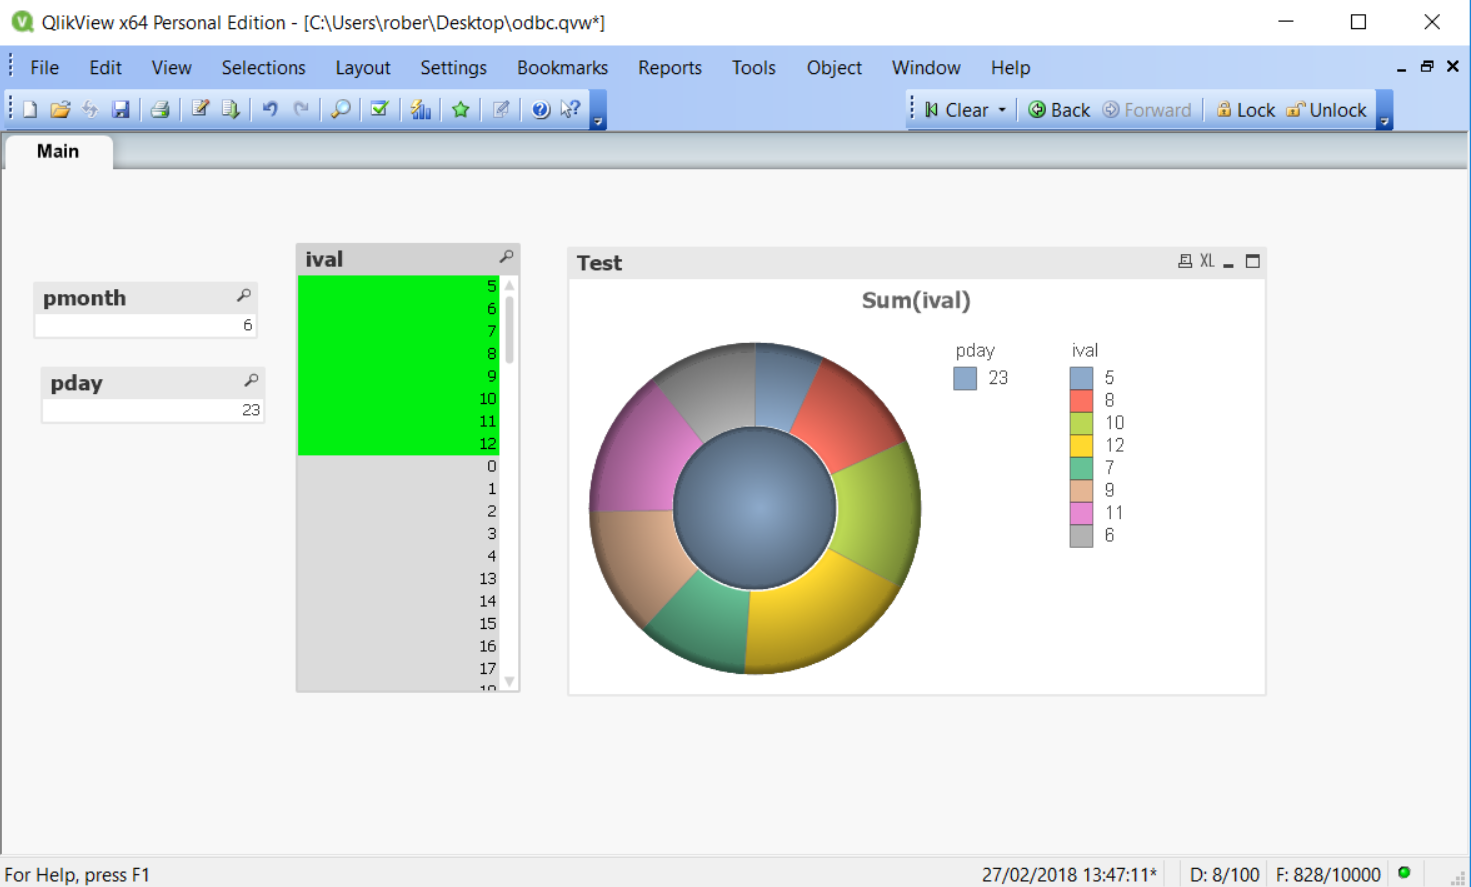
QlikView_
Prerequisites: Driver installation & configuration
ODBC
If you connect through ODBC, a DSN must be created prior to the connection. More details: Go to ODBC-Create a DSN linked to Indexima Engine.
Depending on the location of the ODBC repository, you may need extra rights to perform the DSN creation.
JDBC
Install the jar files
Setup INDEXIMA connection in QlikView
Run QlikView and select File then New.
Exit the Getting Started Wizard: Create a new document wizard and then select File and Edit Script to get the following dialog:
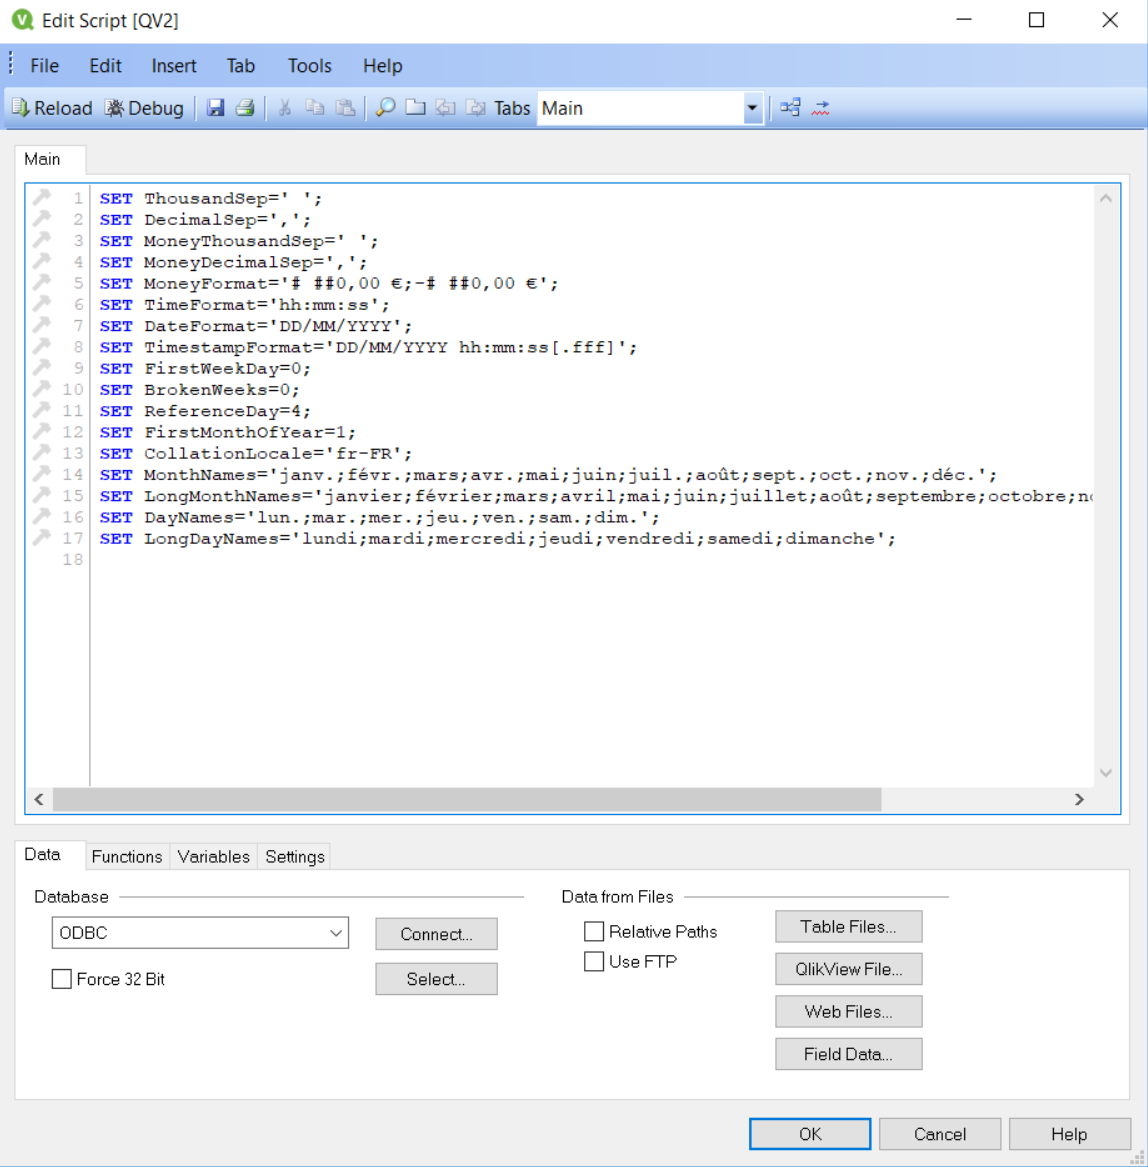
ODBC
Go to ODBC-Create a DSN linked to Indexima Engine
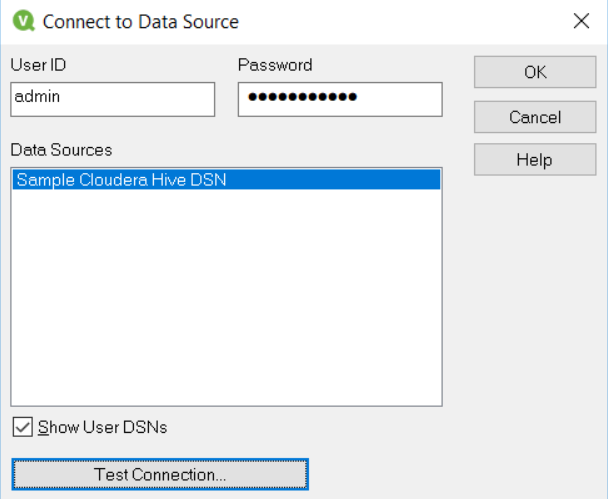
Choose ODBC and Click Connect... and plug in the credentials of the database

JDBC
- Select JDBCConnector_x64.dll (64) as the connector and click on the Configuration button
Review all dialogs provided by this 3rd party company. The next dialog validates your java JRE installation.
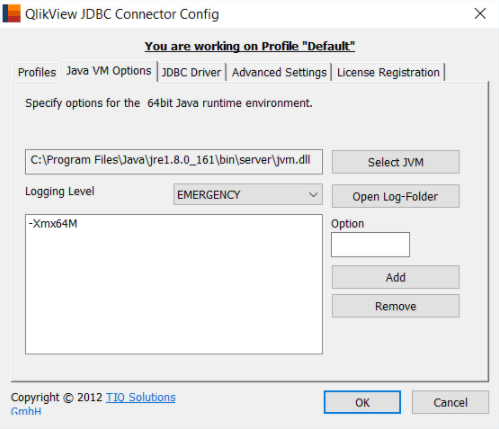
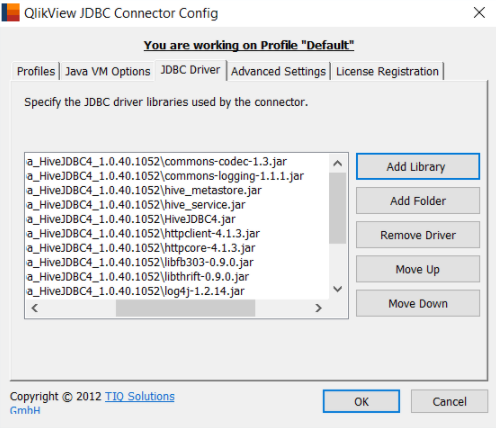
- This dialog identifies all the jar files you need to establish a JDBC connection.
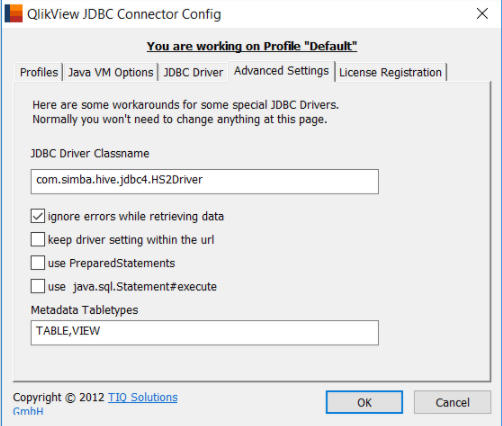
- Type the JDBC Driver Class name provided by your JDBC driver editor in the dialog below:
- Click now on the
Connectbutton to provide the URL and the credential of your connection.
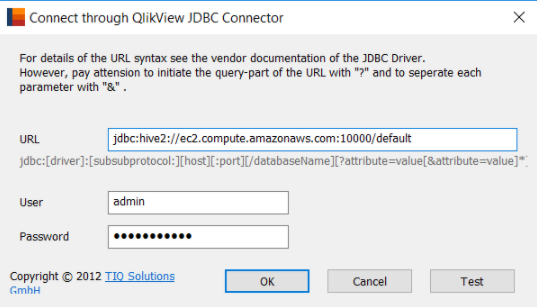
Tie to the recommendation provides by the above dialog about the URL. Prefix your host with jdbc:hive2:// followed by your host and the port that your jdbc host is listening. i.e. jdbc:hive2://192.168.1.2:10000/default.
Test the connection
You can check the status of your connection by clicking on Test Connection... . When you are ready, click OK .
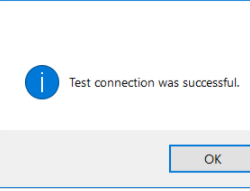
- Click on the Test button to validate this connection
Select Tables
A connection line should appear in the current script. Click Select to select the table and associated columns.

Pick up the table and the fields you need for your application. You should see the script section adjusting to your selection. Once you are done, click OK.
The script will be inserted in the final QlickView setup dialog as shown below:
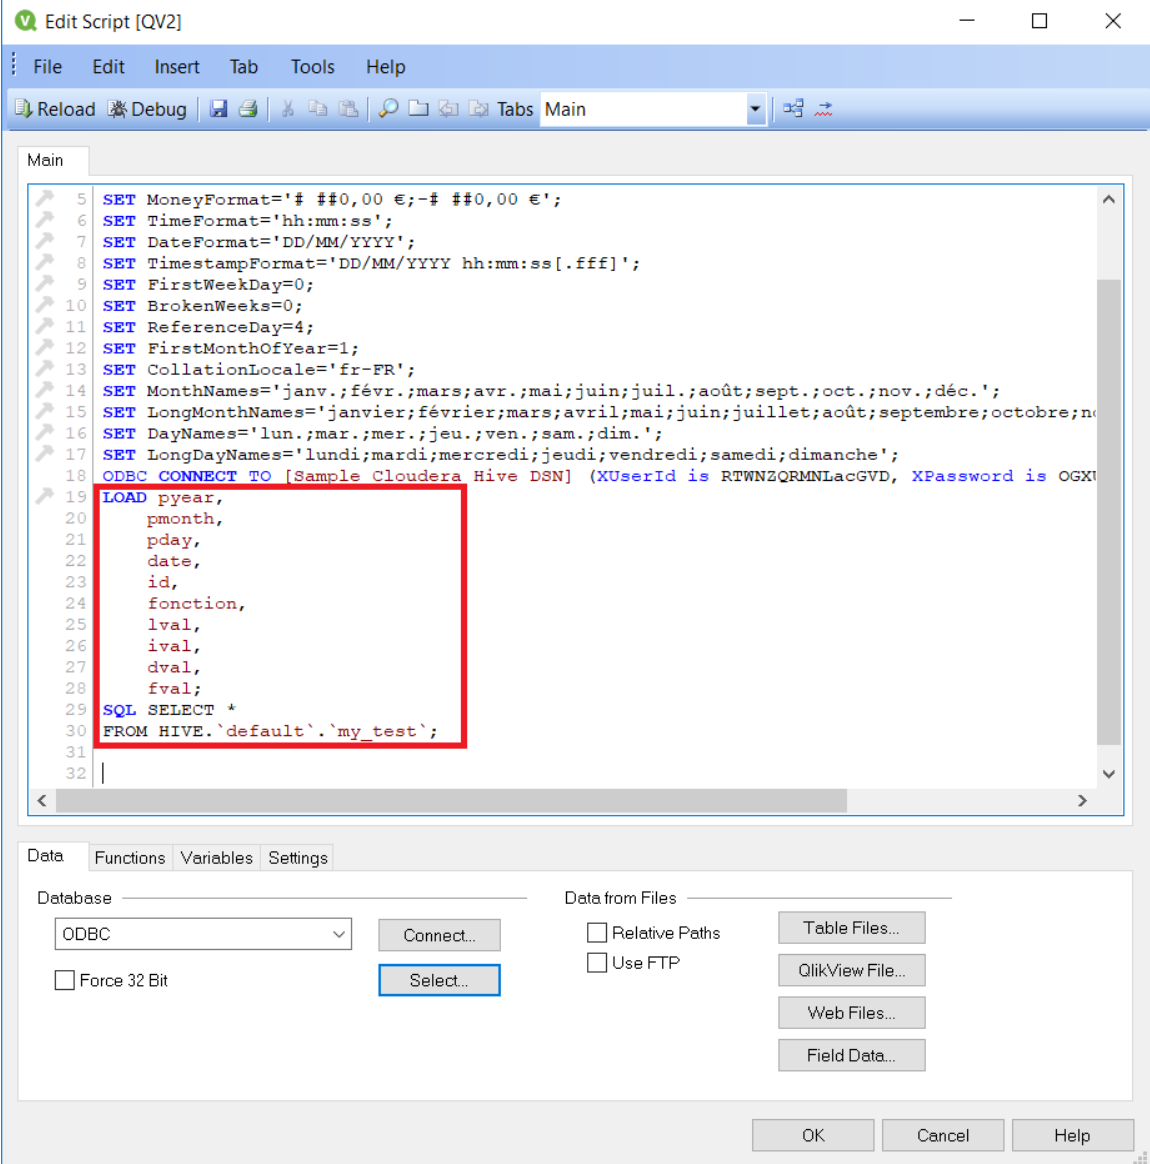
Click OK. Now, from the main menu, select File and Reload. QlikView will allow you to save your script before loading data from your database.
Now, you can create and edit QlikView objects according to what your application requires.
